Tips on exporting video from Processing
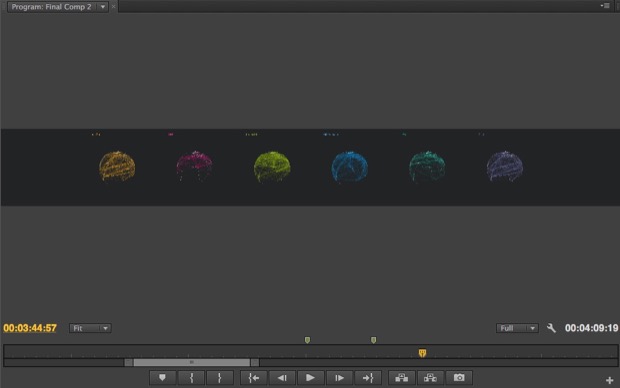
Sometimes my projects involve creating HD format — or larger — videos of coded work created in Processing. There's various ways to create videos from Processing but having recently completed a piece of work involving generating an 8000 x 1000 pixel video for a 360 degree projection system I thought I would share how I set things up in case you find it useful.

Frames not Time
There's two approaches you can go down depending on what type of quality you're after. The first involves a Processing library letting you create a video directly from Processing and the other is the one I use, as I need uncompressed high quality videos, which involves a few more steps.
There's a great library called Video Export which allows you to create an mp4 directly from within your Processing sketch. I've used it several times and it works really well. Crucially it's frame based, meaning even if there's heavy number crunching going on to generate the visuals and the frame rate drops through the floor, you still get a video that runs correctly. This point is really important — you can't just run a screen capture tool for example and hope your frame rate doesn't slow down. Going the frame route will ensure your exported video will look as you intended.
I don't want to dwell on the Video Export library as it's pretty self explanatory but instead focus on how I generate videos.
Frame by Frame
As I mentioned in the opening I've recently completed a piece of work involving creating a data viz 8000 x 1000 pixels. You can't create this with the Video Export library as mp4s struggle with anything over 4k. Instead this process involves exporting out individual frames and then compiling them into a final, full quality video file.
Here's how I set that up in Processing:
// Set up some constants

final int SECONDS_TO_CAPTURE = 60;
final int VIDEO_FRAME_RATE = 60;

// Set up video variables

boolean recordVideo = false;
int videoFramesCaptured = 0;

void draw(){
    background(0);
    // draw some awesome visuals here

    if (recordVideo){
        saveFrame("export/####-export.tga");
        if (videoFramesCaptured > VIDEO_FRAME_RATE * SECONDS_TO_CAPTURE){
            recordVideo = false;
            videoFramesCaptured = 0;
        }else{
            videoFramesCaptured++;
        }

        pushStyle();
        noFill();
        strokeWeight(2);
        stroke(255,0,0);
        rect(0, 0, width, height);
        popStyle();
    }

}
This is how I now set things up whenever I want to export frames for a video. At the top I define two constants — the number of seconds I want to capture and then the video frame rate — pretty much always the same as Processing which is 60 fps.
I then define two variables. The first is a boolean acting as a switch to control if the sketch is exporting video or not. You would usually put this in a keypressed() method or maybe on the button of a GUI so you can toggle the recording on or off. The next line is a counter that monitors how many frames have been captured.
Inside your draw method you would do your awesome drawing stuff. Then we have our video frame output code. First it asks if we're in record video mode and if we are it saves out a frame — note we save it in Targa format as it's actually the quickest to export. Next it does a calculation to see if the videoFramesCaptured is greater than the video frame rate multiplied by the seconds we want to capture. If that's the case then it halts the recording and resets the number of video frames captured.
One extra thing I do is draw a red outline around the whole screen to indicate that we're in record mode. Because this happens after the saving of the frame it doesn't appear on the video.
This will give us a series of .tga files saved to disk. For example 60 seconds worth would give us 3600 files if we're working at 60 frames per second.
Quicktime
The next thing to do is fire up Quicktime Player 7 Pro. I'm very specific about this version. Let me tell you now this is the version you want. The usual version that ships with Os x is garbage when it comes to editing video. Do yourself a favour and get this version — it's like the Swiss Army Knife of video editing tools.
In Quicktime Player choose File > Open Image Sequence... choose the first file from all those files you have exported. You'll then be asked to choose the frame rate which will probably be 60fps, hit OK and Quicktime will create a video from all those files. Save it out as a .mov and you now have a nice quality video of your Processing created work.
Animation
Remember I mentioned earlier about thinking in terms of frames and not time? Well this really comes into play if you've got any time based tweens going on. If your frame rate drops and your animation is calculated based on elapsed time then things are not going to look correct in your video. Fortunately that's easily avoided by using the Ani animation library.
When you setup the Ani object you can specify the time mode to use frames like this:
Ani.setDefaultTimeMode(Ani.FRAMES);Now whenever you do any tweens using Ani it will do this using the frames rather than the elapsed time and your tweens will look exactly how you want them, no matter how much that frame rate drops.